Redirect Messages – Fast and Easy
The Bat!'s mechanism of redirecting messages is multifunctional and easy-to-use. In this article we'll guide you through this mechanism and tell about some similar features of the program.
Users often need to transfer messages that they receive to other people. In The Bat! this action can be fulfilled in two ways – "Forward" and "Redirect". While forwarding, the source message becomes an attached file and can be supplemented by additional text from the forwarding user. Redirecting is different, because the source message is not modified in any way – the final recipient gets it the same way as the one who redirects it. It is worth mentioning that if a message is forwarded, the user who forwards it (and not the initial author of the message), is indicated as its sender, whereas a redirected message is shown to the final recipient as sent by the initial sender (and not the one who redirects it). We'll explain how to recognize a redirected message later.
There is also an intermediate option for your convenience: Edit as new. While using it, the initial message is opened for editing, its text can be modified, and it is sent without attaching the initial message.
A message can be redirected in several ways:
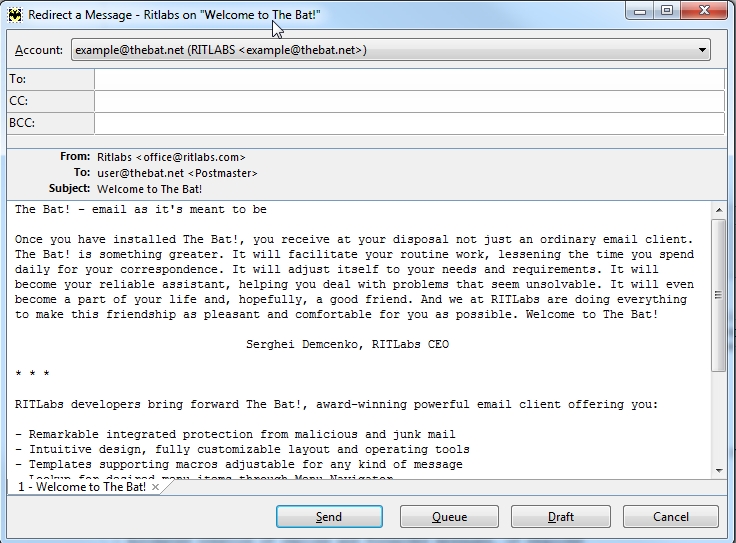
In this window you can:
Sometimes, several messages should be redirected to the same recipient. It can be done for every message separately, but it is much easier to mark all these messages and open the Redirect window. The messages will appear as separate tabs of this window.
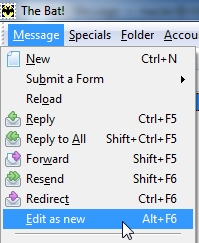
We remind you that message text can't be edited while redirecting. For this purpose, the best choice is the "Edit as new" option. It can be accessed in the Message section of the Main menu or via the Alt+F6 hotkey:
After that the selected message is opened for editing. Its text can be modified in every possible way. If this action is performed for several messages, a separate window is opened for each of them.
If you need to resend the initial message as an attachment with your remarks, you should use Forwarding. It can be accessed in several ways:
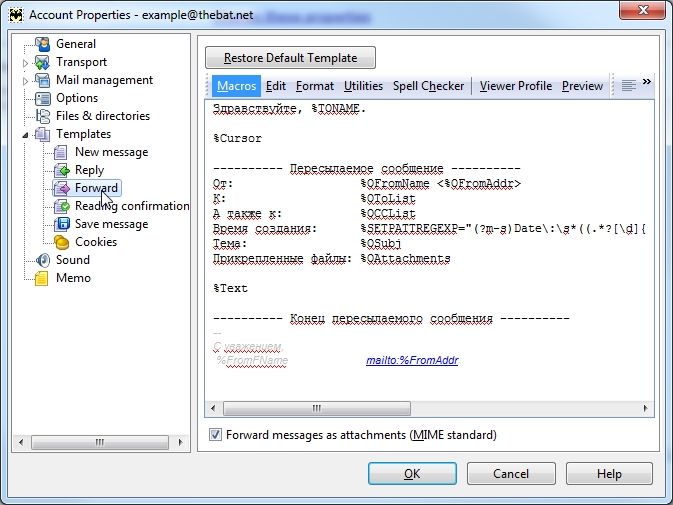
While selecting several messages for forwarding, each of them becomes a separate attachment.
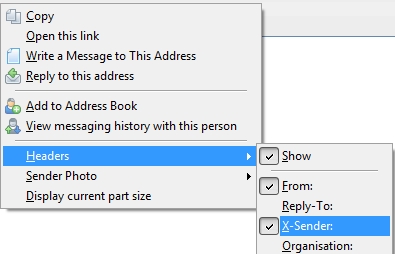
You should pay attention to the fact that the intermediate link within the process of redirection can remain unseen by the final recipient, because it is represented as sent by the initial sender. In order to always know the real sender we recommend viewing message headers, especially the X-Sender header. For adding this and other headers, right-click on the header field (From, To, CC, BCC and Subject headers are active by default) and mark necessary headers. If a redirected message is received, X-Sender header contains the email of the person who redirected it.
Users often need to transfer messages that they receive to other people. In The Bat! this action can be fulfilled in two ways – "Forward" and "Redirect". While forwarding, the source message becomes an attached file and can be supplemented by additional text from the forwarding user. Redirecting is different, because the source message is not modified in any way – the final recipient gets it the same way as the one who redirects it. It is worth mentioning that if a message is forwarded, the user who forwards it (and not the initial author of the message), is indicated as its sender, whereas a redirected message is shown to the final recipient as sent by the initial sender (and not the one who redirects it). We'll explain how to recognize a redirected message later.
There is also an intermediate option for your convenience: Edit as new. While using it, the initial message is opened for editing, its text can be modified, and it is sent without attaching the initial message.
A message can be redirected in several ways:
- The Redirect button on the standard toolbar of the Main window and of the Message viewer window.

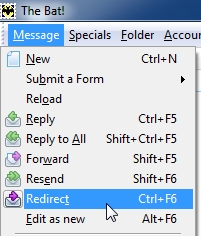
- The Redirect option in the Message section of the Main menu or the Ctrl+F6 hotkey.

In this window you can:
- Select the account for sending the redirected message from
- Indicate the recipients, add CC and BCC
- View the message text without editing it
- Select one of the following actions: Send (send the message to the recipient), Queue (move it to Outbox), Draft (save it as a draft) or Cancel (cancel redirecting)
Sometimes, several messages should be redirected to the same recipient. It can be done for every message separately, but it is much easier to mark all these messages and open the Redirect window. The messages will appear as separate tabs of this window.
We remind you that message text can't be edited while redirecting. For this purpose, the best choice is the "Edit as new" option. It can be accessed in the Message section of the Main menu or via the Alt+F6 hotkey:

After that the selected message is opened for editing. Its text can be modified in every possible way. If this action is performed for several messages, a separate window is opened for each of them.
If you need to resend the initial message as an attachment with your remarks, you should use Forwarding. It can be accessed in several ways:
- The Forward button on the standard toolbar of the Main window and of the Message viewer window.

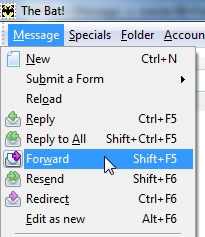
- The Forward option in the Message section of the Main menu or the Shift+F5 hotkey.

While selecting several messages for forwarding, each of them becomes a separate attachment.
You should pay attention to the fact that the intermediate link within the process of redirection can remain unseen by the final recipient, because it is represented as sent by the initial sender. In order to always know the real sender we recommend viewing message headers, especially the X-Sender header. For adding this and other headers, right-click on the header field (From, To, CC, BCC and Subject headers are active by default) and mark necessary headers. If a redirected message is received, X-Sender header contains the email of the person who redirected it.
